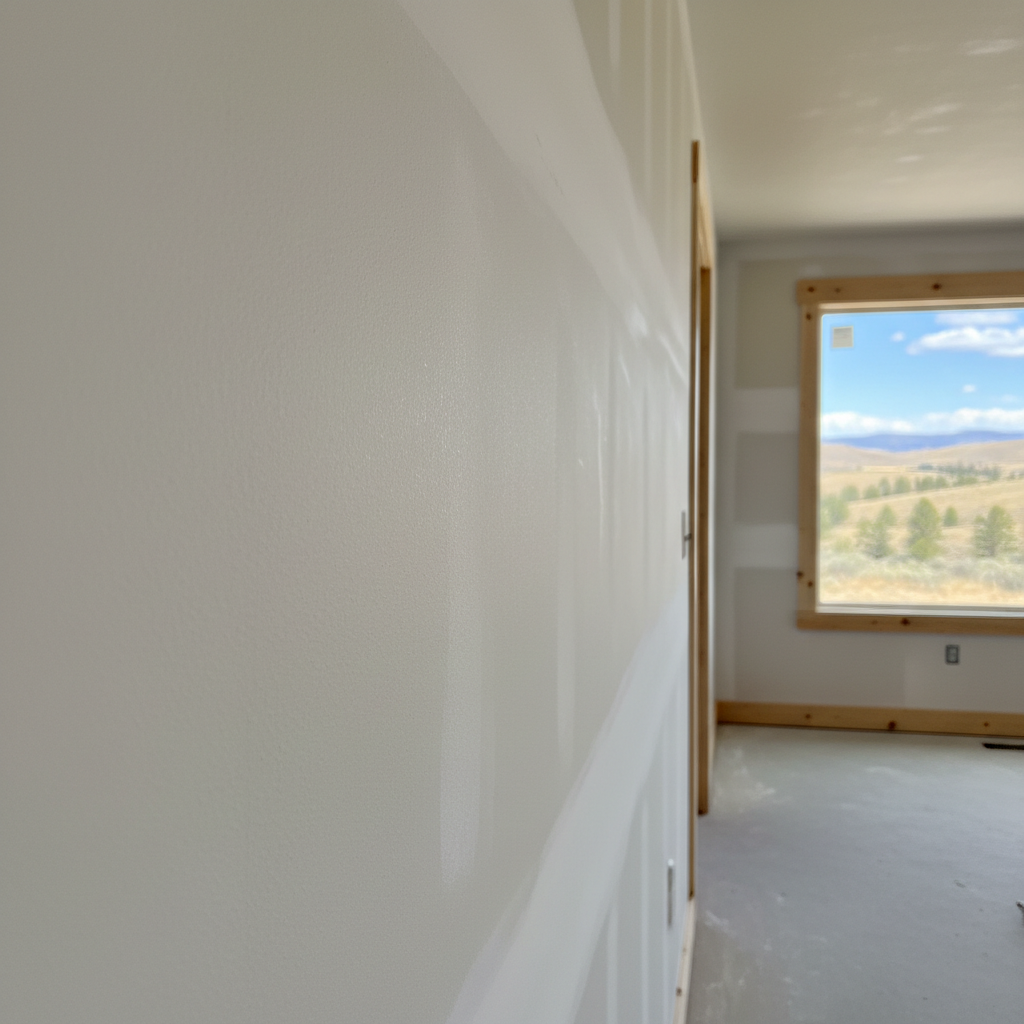
Alright, let's talk about drywall priming. You've put in the hard work, whether it's hanging new sheets or patching up some old damage, and now you're probably looking at those fresh, unfinished walls, wondering what comes next. Skipping primer is a classic rookie mistake, and honestly, you really don't want to make it. A good primer isn't just some extra step; it's the solid foundation for a paint job you'll genuinely be proud of.
Why Even Bother with Drywall Primer?
Look, new drywall and joint compound are incredibly thirsty. They're porous materials, and if you just slap paint straight on them, they'll soak it up unevenly. What does that mean in practice? Well, you'll end up with blotchy spots, an inconsistent sheen, and you'll use way more paint than you ever should have. Primer seals those pores, creating a uniform surface that your paint can actually stick to properly.
It also really helps with adhesion, makes your topcoat look much smoother, and can even help hide minor imperfections. For any repairs you've made, like filling holes or cracks with joint compound, priming those specific spots is absolutely key. Otherwise, the repaired areas will absorb paint differently than the surrounding wall, and you'll see exactly where that patch was made — something most people want to avoid.
Before You Grab That Roller: Prep is Important
You wouldn't build a house on a shaky foundation, right? So you definitely shouldn't prime on a messy wall. This part is important, and it's 100% DIY territory, which means you're in charge.
- Clean 'Em Up: After all that sanding, there's going to be a lot of dust. Get a dry brush or a shop vac with a good filter and clean the walls thoroughly. Then, a quick wipe down with a damp cloth to get rid of any lingering dust. Let it dry completely.
- Fix Imperfections: Any holes, cracks, or dents need to be filled with joint compound or spackle and then sanded smooth. If you skip this, primer won't magically fix it, and your paint job will just highlight every single flaw.
- Protect Your Space: Move furniture out or to the center of the room and cover everything with drop cloths. Tape off baseboards, trim, and ceilings with painter's tape for nice, clean lines.
Choosing the Right Primer for the Job
This is where it can get a little confusing, but don't worry, I'll break it down for you. There are a few main types, and what you pick really depends on your specific project.
- PVA Primer (Polyvinyl Acetate): This is your go-to for new, bare drywall. It's cost-effective and designed specifically to seal the porous drywall paper and joint compound, creating that uniform base we talked about earlier. Most new drywall only needs one good coat of PVA primer. Brands like Kilz and Valspar make good PVA options.
- Acrylic Latex Primer: If you've got a mix of new drywall, patched areas, or previously painted surfaces, an acrylic latex primer is a more versatile choice. It offers stronger adhesion and better moisture resistance, which can be good for places like bathrooms or basements. Brands like Zinsser Bulls Eye 1-2-3 or Sherwin-Williams offer solid acrylic primers.
- Stain-Blocking Primer: Got water stains, smoke damage, or other tough spots you need to cover? You'll want a shellac-based or oil-based stain-blocking primer. These are serious primers for serious problems, and they really do the trick.
Generally speaking, for most new drywall projects, a PVA primer is usually the best and most economical choice. If you're just doing small repairs, a good acrylic multi-purpose primer will work fine for spot priming.
Applying the Primer: The "During" Part
Once you've got your primer and your walls are prepped, it's time to get to work. This is definitely something a homeowner can do, but take your time with it.
- Stir It Up: Always stir your primer thoroughly before you start and periodically during application.
- Cut In First: Use a 2-3 inch brush to "cut in" around the edges of the walls, corners, and where walls meet the ceiling and baseboards. Also, spot prime any repaired areas with the brush.
- Roll It On: Pour primer into a paint tray. Use a high-quality roller with a 3/8 to 1/2-inch nap. Dampen the roller cover slightly with water for latex primers to help it absorb primer better. Don't overload the roller; roll off excess in the tray.
- Work in Sections: Apply the primer in 3x3 foot sections, working from top to bottom. Use "V" or "W" strokes, overlapping wet areas to make sure you get even coverage.
- One Coat is Usually Enough: For new drywall, one even coat of PVA primer is typically sufficient. If you're covering heavy stains or if the drywall is exceptionally porous, a second coat might be needed.
- Mind the Weather: In Boise, our low humidity is generally great for painting because things dry faster. But on really hot, dry days, especially in the summer, paint can dry too fast and cause brush marks. If you're priming during a heatwave, try to work in the cooler parts of the day or when it's overcast.
After Priming: What's Next?
You're almost there! Don't rush this final stage; it's worth the extra bit of patience.
- Let it Dry: Follow the manufacturer's instructions for drying time. Most primers dry pretty fast, often within an hour, but always check the can to be sure.
- Light Sanding (Optional but Recommended): Once the primer is completely dry, you might notice the surface feels a little rough. This is normal. A very light sanding with fine-grit sandpaper (220-grit) or a sanding sponge can smooth out any roughness or bumps. Wipe off any dust afterward.
- Inspect: Look at your walls under good light. Do you see any missed spots? Any areas that still look uneven? Address them now before you start painting, because once the paint is on, it's much harder to fix.
When to Call a Pro (Like Boise Drywall Company)
While priming is a very DIY-friendly task, there are times when bringing in the pros makes a lot of sense, honestly.
- Extensive New Construction: If you're finishing an entire basement or a whole new addition, that's a lot of square footage to cover. A professional crew can get it done much faster and with consistent results, especially if they're spraying the primer.
- Major Repairs or Stains: Dealing with widespread water damage, smoke damage, or significant structural repairs? Getting a pro involved helps make sure those issues are properly sealed and prepped, preventing problems down the road.
- Time is Tight: If you've got a deadline and don't have the time to dedicate to thorough prep and application, we can step in and make sure it's done right.
- You Just Don't Want To: Hey, it happens! Sometimes you just want to hand off the dirty work and know it's going to be handled by experienced folks who do this day in and day out.
For most homeowners tackling a room or a few repairs, priming is a totally achievable project. Just take your time, use the right materials, and don't skip the prep. You'll be rewarded with walls that look fantastic once the paint goes on, and that's not a small thing.