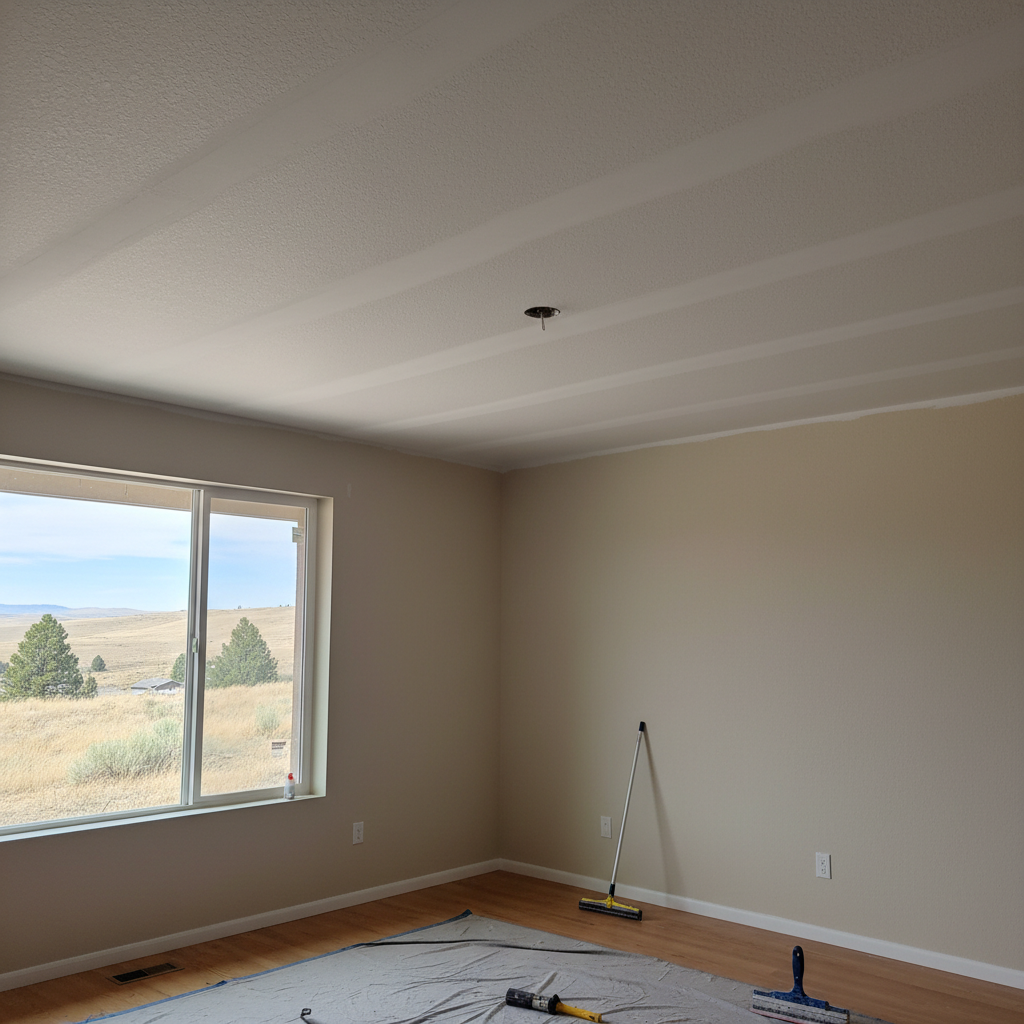
Alright, let's talk about putting up drywall on your ceiling. If you're planning to install new drywall overhead here in Boise, you're probably wondering what kind of hit your wallet is going to take. It's not just a simple, flat rate, you know. But I can definitely give you some real numbers and also explain what makes those prices go up or down. It's more complex than you might think.
What Really Changes the Price Tag?
A few key things really make a difference when it comes to ceiling drywall costs. It’s not just about the square footage; there’s a lot more to consider, honestly.
- Ceiling Height: This is a pretty big deal. Trying to hang those heavy drywall sheets 10 or 12 feet up is much harder work. It also needs more specialized equipment, like lifts and scaffolding, compared to just an 8-foot ceiling. You should probably expect to pay 10% or even more extra for any ceilings over 8 feet.
- Type of Drywall: Standard 1/2-inch drywall is usually the most affordable choice. However, if you need something specific, like moisture-resistant drywall for a bathroom, fire-resistant for a garage, or even soundproof board for a media room, you'll end up paying more per sheet. These specialty boards can add anywhere from $0.35 to $1.50 per square foot to the total cost.
- Finish Level: This is where the quality really shines through, and costs can honestly vary quite a bit. There are five main levels of drywall finish, starting from Level 0 (which is just hung, no finishing at all) all the way up to Level 5 (a perfectly smooth, ready-to-paint surface). Most living areas, generally speaking, need at least a Level 4 or 5. A Level 5 finish, with its skim coat, is going to cost more because it's truly detailed work. This can add about $0.25 to $0.40 per square foot in labor costs compared to lower levels.
- Room Shape and Layout: A simple, square room is always easier and faster to work on than a room with lots of angles, soffits, or cutouts for lights and vents. More cuts mean more labor time and, unfortunately, more material waste.
- Accessibility: If our crew can't easily get materials into the room or set up our equipment, that just adds time and labor to the job. Think about tight hallways or rooms that are already packed with existing furniture.
- Demolition and Debris Removal: If you're replacing an old ceiling, especially one with that classic popcorn texture, there's the added cost of tearing it out and hauling away all the old material. Popcorn removal alone can run you $1.25 to $2.50 per square foot, which happens more than you'd think.
Typical Cost Ranges in Boise
Let's get into some actual numbers you can expect right here in the Treasure Valley. For ceiling drywall installation, and this includes both materials and labor, you're generally looking at:
- Overall Range: $2.00 to $4.00 per square foot. This covers the hanging, taping, and finishing process.
- Labor Only: The labor to hang and finish ceiling drywall typically runs $1.40 to $3.10 per square foot. Drywall installers in Idaho, by the way, earn a mean wage of about $23.19 per hour.
- Materials Only: Materials for ceiling drywall usually add another $0.60 to $0.90 per square foot.
So, for a standard 12x12 bedroom (that's 144 square feet) with an 8-foot ceiling and a good Level 4 finish, you might expect to pay roughly $300 to $600. For a larger living room, say 16x20 feet (320 square feet), that could be anywhere from $650 to $1,300. These are just averages, of course, and they can certainly swing based on all those factors I just mentioned.
What's Included in a Good Quote?
When you get a quote from Boise Drywall Company, or really any reputable contractor, here’s what should be clearly spelled out:
- Materials: This covers the drywall sheets themselves (with the type and thickness specified), joint compound (often called mud), tape, screws, and corner bead.
- Labor: The cost for hanging the drywall, taping the seams, applying multiple coats of mud, and then sanding everything to the agreed-upon finish level.
- Site Preparation: Protecting your floors and furniture, setting up dust containment, and making sure the work area is clear before anything starts.
- Cleanup: Removing all debris and leaving your space tidy once the job is done.
- Finishing Level: A clear indication of the finish level (e.g., Level 4 or Level 5) you're getting. This is key for painting later on.
What's usually not included, unless you specifically ask for it, is painting or texturing. Those are separate services. Also, if there's any structural repair needed on your ceiling joists before drywall can go up, that's an additional cost. Reinforcing sagging joists, for example, can add $2 to $4 per linear foot to the overall project.
How to Avoid Overpaying
Nobody wants to get ripped off, right? Here’s how you can be smart about your ceiling drywall project:
- Get Multiple Quotes: Don't just go with the first person you call. Get at least two or three written estimates from local professionals. Make sure each quote is itemized and clearly states what's included so you can compare apples to apples, as they say.
- Be Specific About the Finish: Know exactly what finish level you want. If you just say "finish," you might end up with a Level 3 when you really wanted a Level 5, and then you'll be disappointed (and probably paying more to fix it later).
- Clear the Area: Do as much prep work as you can yourself. Move furniture, clear out rooms. The less time our crew spends on non-drywall tasks, the less you pay in labor. It's that simple.
- Ask About Materials: Understand what kind of drywall and mud they plan to use. Sometimes a slightly higher-quality material upfront can save you headaches (and money) down the road.
- Check References and Reviews: A good reputation means a lot in this business. Ask for references and check online reviews. You want someone reliable who stands by their work, which is not always a given.
- Understand the Contract: Read absolutely everything. If you have questions, ask them before you sign anything. A clear contract protects both you and the contractor, honestly.
Ceiling drywall is a skill that takes a lot of practice to get right, especially when you're fighting gravity the whole time. Trying to DIY it to save a few bucks often ends up costing more in frustration, wasted materials, and eventually, hiring a pro to fix it. Here in Boise, we've got some unique challenges, like those dry summers that can make mudding tricky if you don't know what you're doing. It’s usually best to trust it to the pros, and that's not a small thing.