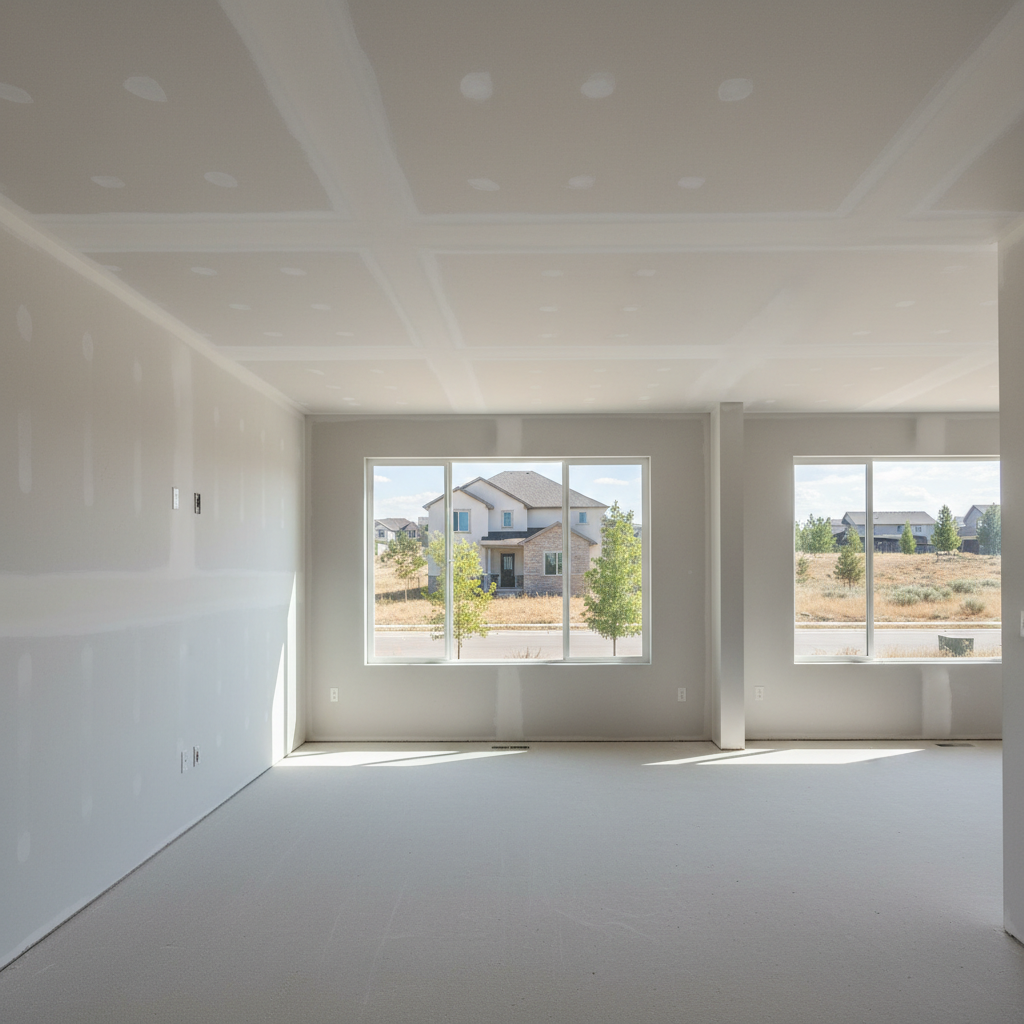
You want smooth walls, right? No waves, no cracks, no seams peeking through your fresh paint. That's where drywall taping and mudding comes in, and honestly? It's where a lot of DIY projects just fall apart. It's not just about slapping on some mud; it's an art, a science, and it takes a whole lot of patience.
Why Taping & Mudding Is Way More Important Than You Think
Look, anyone can hang a sheet of drywall. It's the finishing work that really separates the pros from the amateurs. When we talk taping and mudding, we're talking about making a surface that looks completely seamless. You're hiding all those screw heads, all those seams where two sheets meet, and every single inside and outside corner. If you don't get it right, every imperfection will practically scream at you once the light hits it, especially with that bright Idaho sun pouring through your windows.
We've seen it all, believe me: walls that look like a topographical map, seams that pop back up months after painting, corners that aren't quite straight. It's incredibly frustrating for homeowners, and it's always more expensive to fix a bad mud job than to just do it right the first time. You're not just covering things up; you're actually building the foundation for your paint, your wallpaper, or whatever finish you're going for.
Boise Conditions & Typical Projects
Boise isn't a desert, but it's certainly not a rainforest either. Our climate, with its dry summers and cold, sometimes damp winters, can really affect how drywall mud dries and cures. If it dries too fast, it can crack. Too slow, and you risk mold or poor adhesion. That's why knowing how to properly mix, apply, and cure mud in *our* specific environment is absolutely critical. We're not dealing with the humidity of the coast or the extreme heat of Arizona; our conditions are unique, and your drywall finish needs to reflect that.
Around here, we handle all sorts of projects. You've got the new construction out in places like Meridian or Kuna, where it's all fresh sheets and miles of seams. Then there are the older homes in the North End or the Bench, where people are often remodeling. Maybe they're taking down a wall to open up a kitchen, or adding a new bathroom. That means tying new drywall into existing plaster or older drywall, which brings its own set of challenges. You need to feather out those transitions so you can't tell where the old ends and the new begins. It takes a keen eye and a steady hand, doesn't it?
- New Construction: Think big, open spaces, lots of seams, and the need for consistent, smooth finishes across entire homes.
- Remodels: Often involves patching, blending new drywall into old, and dealing with varying substrate conditions.
- Repairs: From accidental holes to water damage, getting a patch to disappear takes real skill, especially if the surrounding wall has texture.
The Process: It's More Than Just Mud
So, what does a good taping and mudding job actually involve? It's a multi-step process, and you simply can't skip any of them:
- Taping: This is where we embed paper or mesh tape over the seams and inside corners. The tape provides strength and prevents cracking. You can't just glob mud over a seam and expect it to hold; the tape is the structural backbone.
- First Coat (Bed Coat): This coat goes over the tape, filling the recess created by the tapered edges of the drywall sheets. It needs to go on smoothly, but it's not about perfection yet.
- Second Coat (Fill Coat): This coat widens the joint, feathering it out from the first coat. It starts to build up the surface to be flush with the rest of the wall.
- Third Coat (Finish Coat): This is the final, thinnest coat, designed to achieve that perfectly smooth, flat surface. This is where the real artistry comes in, making sure there are no ridges or humps.
- Sanding: After each coat (except maybe the first), there's sanding. This is critical for smoothing out any imperfections and preparing the surface for the next coat. Dust control is a big deal here, especially in occupied homes.
- Corner Bead: For outside corners, we install metal or plastic corner bead. This protects the corner from damage and gives it a crisp, straight line. Then, it gets mudded and feathered out just like the seams.
Each coat needs to dry completely before the next one goes on, and that drying time is influenced by our local humidity and temperature. Trying to rush it is a recipe for disaster.
Why Local Expertise from Boise Drywall Company Really Matters
You might think drywall is drywall, no matter where you are. But I've been doing this in Boise for years, and I can tell you, local conditions, common home styles, and even the type of soil we have (which can affect how houses settle and thus where drywall might crack) all play a role. We know what works here. We know how the dry air impacts drying times, and we know the common issues we see in older homes versus new builds.
When you hire Boise Drywall Company, you're not just getting someone who knows how to spread mud. You're getting someone who understands the nuances of working in Boise, ID. We take pride in our work, and we want your walls to look fantastic for years to come. Don't underestimate the importance of a professional finish; it truly makes all the difference in the world.